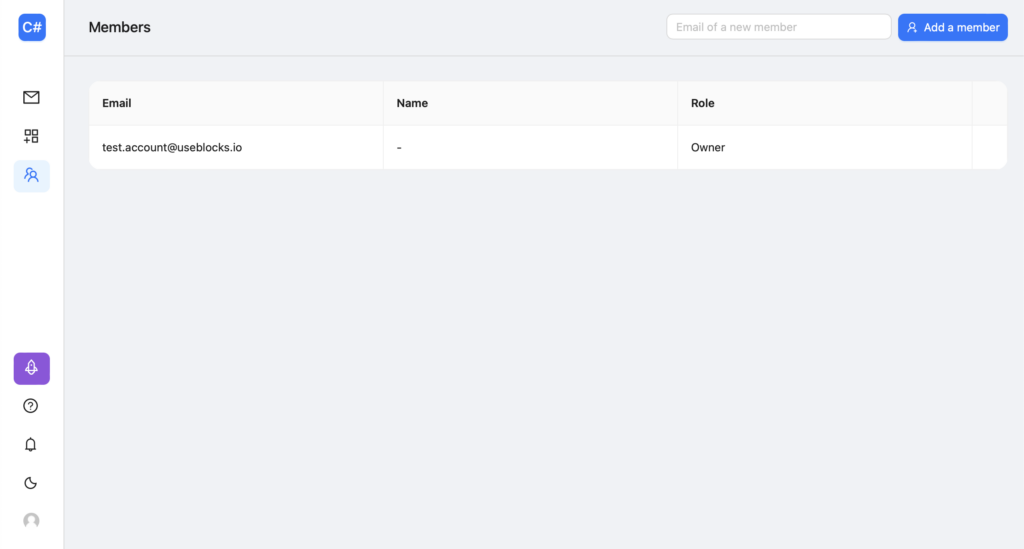
Blocks account interface
After signing in you will get into your workspace.
Your starting pricing plan is Free.
You can find the Help, What’s new, and Account sections in the bottom left corner of the screen.
Help
From the Help menu section, you can go to the Help page, start the Onboarding sequence, and open the Support chat.
Note: Onboarding is currently available for the limited number of account pages, if you feel like some page requires it, you can vote for it.
What’s new
What’s new section contains information about Blocks development and updates. You also can suggest your ideas for our project in this tab.
Account
With the help of the Account tab, you can open your Account settings and learn about your current Billing plan or Sign out.
Your project
To work with emails in Blocks you first need to create a Project.
The Free plan allows you to create only 1 project. You can find more info in the dedicated section of our knowledge center.
Project settings
You can change the project title and FTP settings in the Project settings tab.
The main sections here are Emails, Blocks, and Members. In this article we’ll have a quick look at these sections, if you want to learn more about each of them, you can find it in the dedicated sections of our knowledge center.
Emails
The Emails section contains all the emails created within the Project.
Blocks
You can create blocks for your emails in the Blocks section.
Members
You can control the users and their roles in the Members section.
Several users can work on your project. Each of them can get one of these roles: Owner, Admin, or User.

*On the Free plan only the Owner can work on a project. Adding new users and giving them roles is possible on the Advanced plan and higher.